Showing posts with label F1ZR. Show all posts

Sunday, April 8, 2012

Stroking Up My Yamaha SS2/F1ZR

My new project for my ss2 bike or some other countries call it F1ZR. Stroking it up to increases engine capacity, torque, and performance. I actually done it already by customizing a crankpin to an offset crankpin by 2mm.The 2mm is adding to a half stroke, so full stroke of d crank is 2mm x 2 = 4mm. Adding to d initial stroke of 52mm which increase the total stroke to 56mm.


For newer model bikes, there are aftermarket offset crankpin. which mostly made for fourstoke bikes. only a few for 2 strokes. And the ones that i know that has it was yamaha 125z and yamaha rxz. with ofset up to 1.5mm only. Since my bike is old model and there no market for racing parts as such for the model.

My initial project fails since my customized offset crank pin is not strong enough. The material used to make it was not as strong as that original crank pin. The performance outcome was superb but it didn’t last. Went a few rounds on d road with it and it wore off by 0.5mm. Doesn’t sound much but enough to make my engine sounds like and engine with broken bearings. Or worse. Then I have to dismantle my engine again and install d stock crank again. :S. cost me quite some bucks but it’s part of the R&D for this.


These are the plans for the failed crank pin

Initial planing.

Done

 On one side of the crank

 Grind the bottom conrod for clearance


Half circle bearings

Conrod on d pin


Custom made 1.5mm metal spacer


 Spacer done and on the block

 installed half crank in the crankcase to chek for clearance and fittings

 2mm increase of stroke

0.5mm clearance from d wall

The plan was a failure. But i can tell that it performs damn awesome. coz before it failed. i can tell that it was much better in response and d feel of d engine. 4th gear was as if im still in 2nd gear when riding Too bad d material didnt last. Few rounds and d custom crank pin worn off by 0.5mm. Heavy knocking sound in d engine and cant ride with that kinda engine condition. So i have to install the stock crank again.

But recently i found out a new method of increasing the stroke instead of making an offset crank pin. I figured that closing the original hole of the crankpin on the crankshaft and redrill a new hole that adds d stroke by 2mm as well. the below pic explains it.

I drew this plan to show how the stoke of the crank is counted. and to see how to relocate the crankpin hole.

example 1: 

example 2: notice d crankpin on both crankshafts

This process takes time and money. So i cant really make this as soon as i wish. It depends on my budjet. The outcome of my plan will be superb and performance wise will be insane. Theoretically, coz by increasing stroke, it increases the displacement of the engine and d torque and so thus the power. From 52mm stroke to 56mm stroke is a big improvement in displacement and performance for my bike. since im using a racing cylinder block with 56mm piston, the finish stroked crankshaft of 56mm will make my engine as a "squared engine" which means that i have my stroke and piston size same in measurement of 56mm each. This means my bike will have power in Low RPM range, Mid RPM range, and High RPM range. all in one pakkage. having "Over Bore Engine" will provide better Mid RPM range and High RPM range only. While "Over Stroke Engine" will provide Low RPM to Mid RPM only.

Im going to do an over bore as well soon. with piston size 60mm. increases displacement of the engine and performance. Originally my engine has 52mm stroke and 52mm bore which means my displacement was 110.4cc. Now im using 56mm piston which means 128.0cc. Once i have my stroked crank will be 56mm stroke and 56mm bore equals to 137.9cc. and once i get my 60mm piston installed at that moment the displacement will be 158.3cc. Big leap from 110.4cc to 158.9cc. In 2 stoke it is a very big difference. and it will be mad performance for a small bike with a big displacement engine on it. 
Saturday, November 6, 2010

Double Disc Plate For Cub motorbikes...


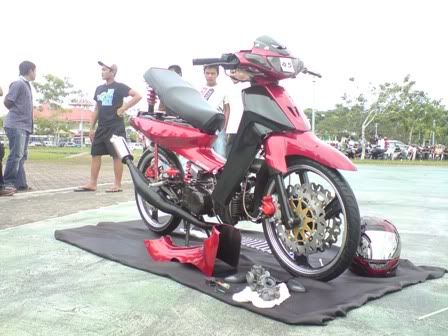
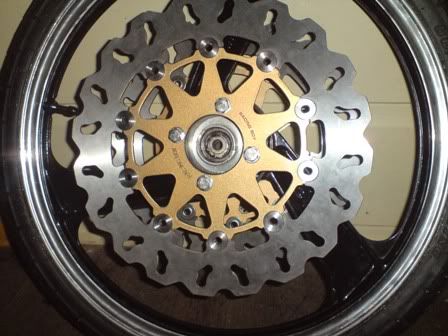
Usually most cub motorbikes comes with just single disc plate for the front braking system.... Or even just a drum brake system... well... my bike started with just drum brake system... then add single disc... and make double disc brake system once i've got the idea and budjet to custom made them...

the cost is kinda high to make this double disc brake system... and high level of creativity in customizing stuffs... :P.... i've collected my money and all these are made by myself and thanks to some ideas i got from the net... :)...

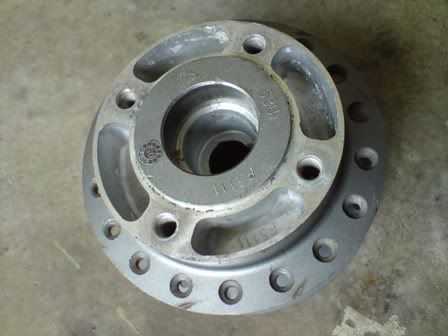
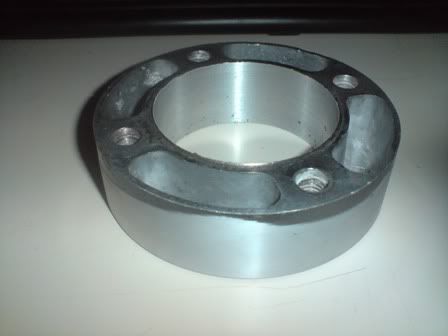
It starts with making the hub to attach on to the front rim.... procedures shown in the pictures bellow... btw... the hub is taken from a Yamaha Lagenda or LC135, or 125z... the ones that uses spoke rims...


measurements to make the hub... forgot the thickness of it...


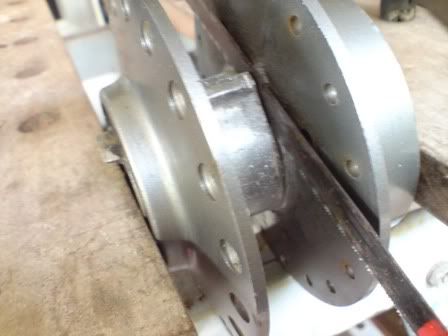
Cut off the part needed from the hub as in the picture...


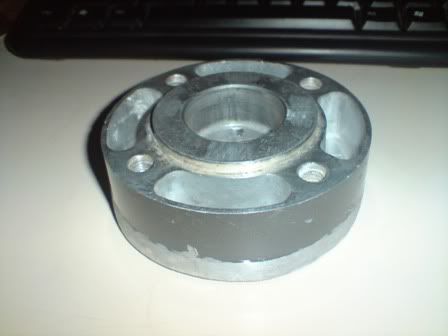
the part been cut off...


cut off until it is as the pic on the left.. then send to the machinery shop to lathe as in the pic on the right... follow the measurement in the first pic...


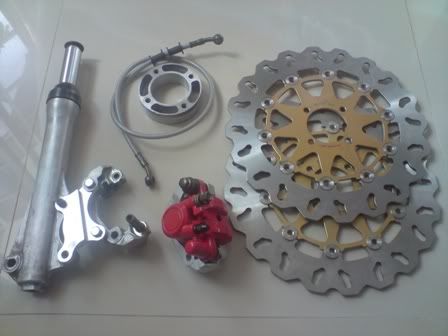
the rest of items u need... disc plate, fork(the same as the right fork), brake caliper, brake hose...


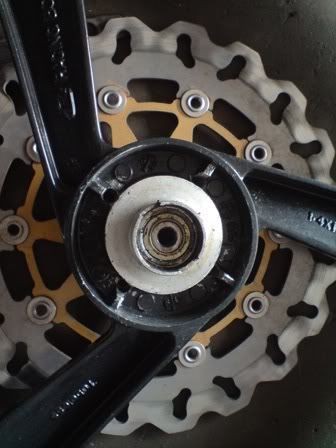
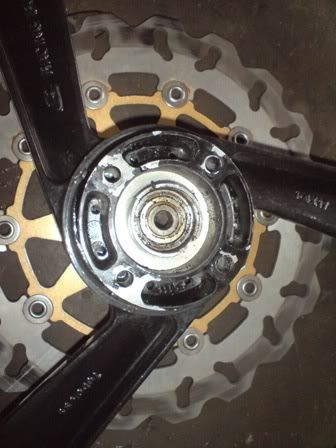
lathe the rims as well as in the left picture... the right picture is with the hub on it...


both disc plate attached onto the rims...


the rims with the discs fixed on the fork... btw... the bracket for the left caliper need to be custom made as well...


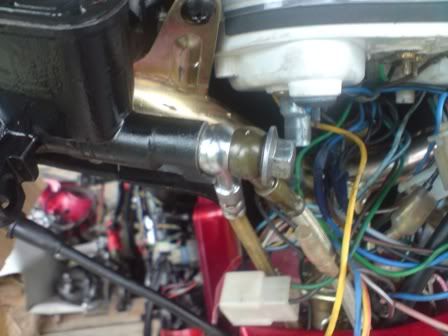
and the brake lines need to be divided into two... a custom made brake nut is made... well... no idea how to explain but its a normal nut that have been drilled for two hose... the brake fluid will go to both of the brake calipers....


One last thing to do is fill in the brake fluid and "bleeding" the lines... takes damn long to bleed the lines since these's two calipers... takes a few hours for it to be completely ready...

Braking power is damn strong after installing the double brake system... need some time to get used to it... and i've got in an accident once just because the braking is too strong... good like trying for those interested in doing this... :)....


Monday, October 18, 2010

Custom Reed Valve Cage 4 SS2 or F1ZR...

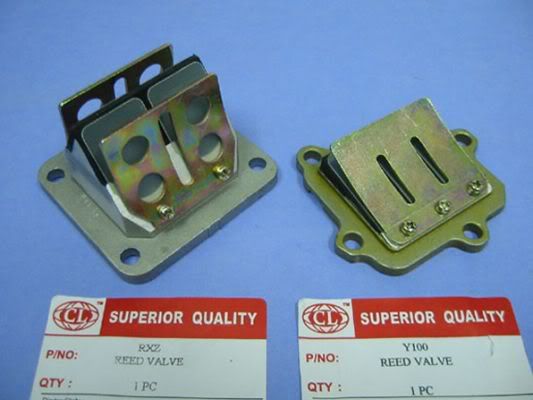
This is for those out there who wants to upgrade you're ride, SS2(in malaysia) or F1ZR(in Indonesia, Thailand and some others) bike, which is the same bike but called differently in different places. Not many people modifies SS2 or F1ZR nowadays since its an old bike and most people go for Four Stroke bikes... Changing d original reed valve to a bigger ones increases the performance of the bike by certain percentage... by the feel of it, it does have a big difference... performance increases drastically... most people use RXZ/125zr reed valve, which both of them is just the same... i don't know if there's other reed valve that can be used....


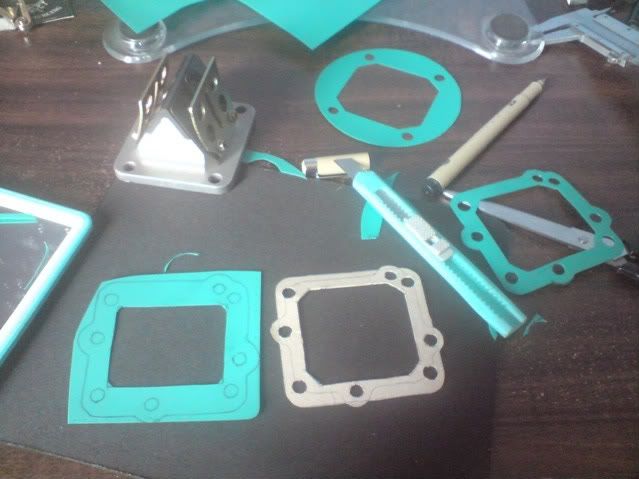
left is the RXZ/125Z valve that i'm going to use...
the right is the original reed valve...

fitting in d reed valve of these bikes requires some modification... procedures of doing so will be provided in this post... :P... but u need all the tools and materials required to make to make this customized reed cage... procedures of doing so will be explained in this post...hehehhe... :P


actually there's ready made for this modification(only one picture available for this item)... but its hard to get nowadays plus its damn expensive... :S... around RM4oo... and the cost for me to making mine is lesser than RM100... BIG DIFFERENCE!!! :P


he comes the procedures of making ur own reed cage...


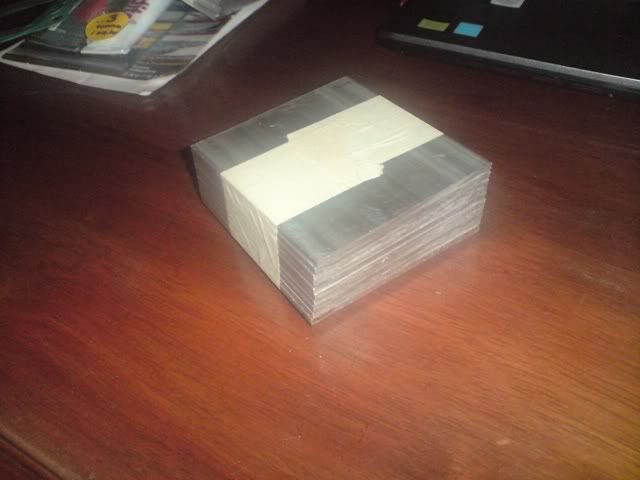
wat u need is aluminium sheets(RM10 depends on where you get them from)


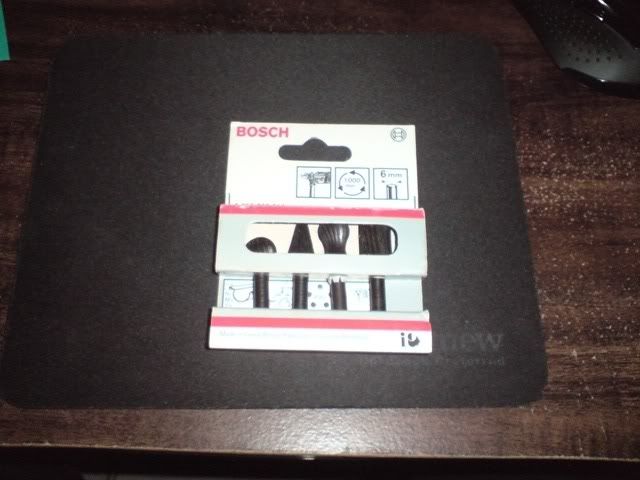
file bits... impact drill... vice grip... and whatever things that needed and as seen in the pictures later on..


but before that u need to do some measurements and make a template...


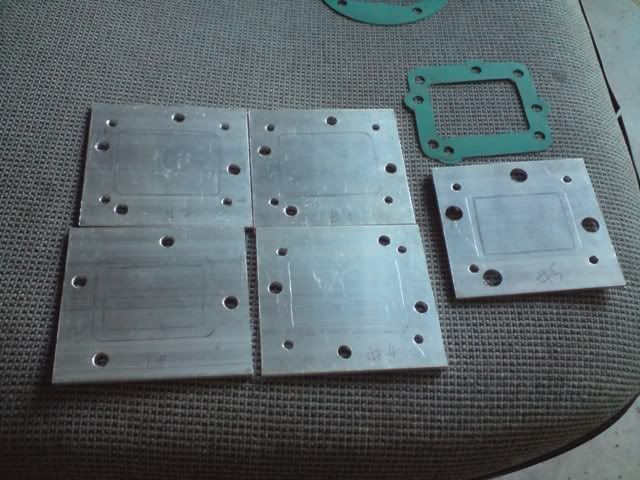
some holes drilled on the aluminium sheets according to the template...
must be damn precise btw...


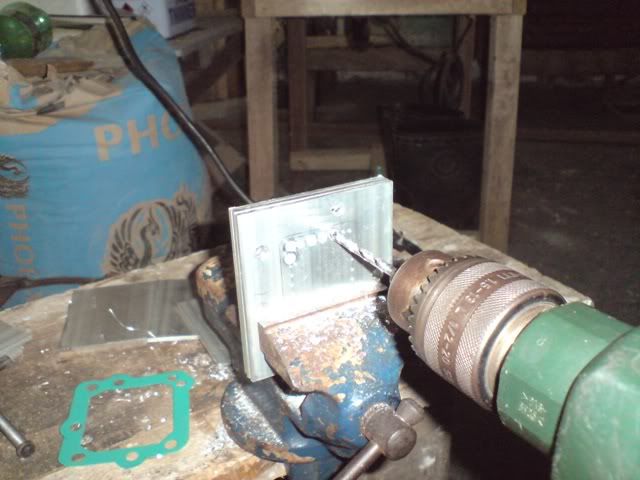
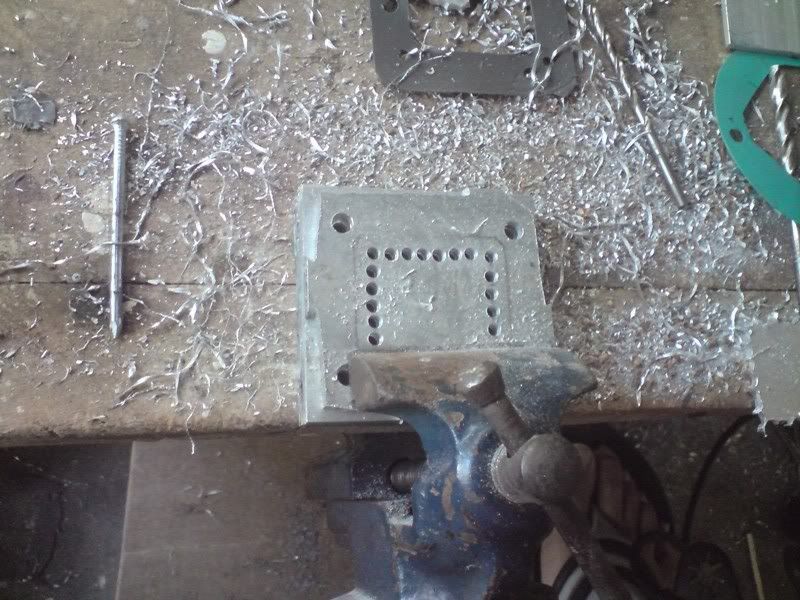
drill holes to in the middle for the sheets and remove the middle piece...
btw before doing this, all the holes the was drilled on earlier on must be aligned properly and super straight... :P


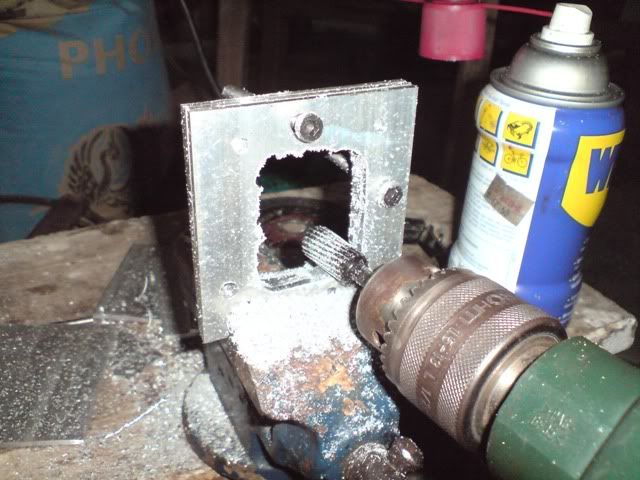
after removing the middle piece, the edges will be uneven... it must be even and smooth... use the File Bit to file through the uneven parts...

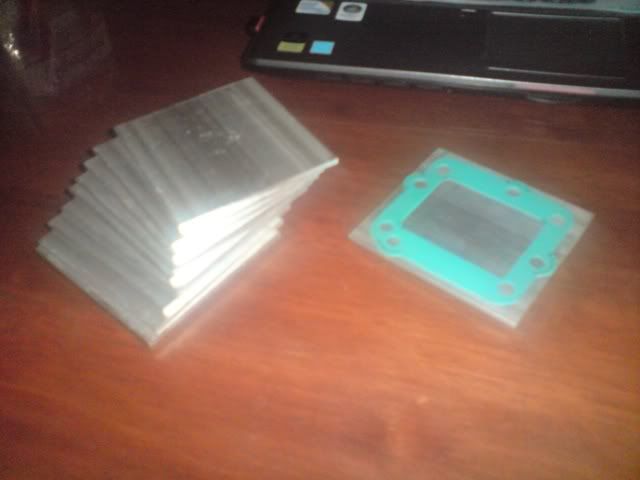
next is to bind all those pieces together with a Metal epoxy... get the slow setting epoxy... coz it is bonds stronger....


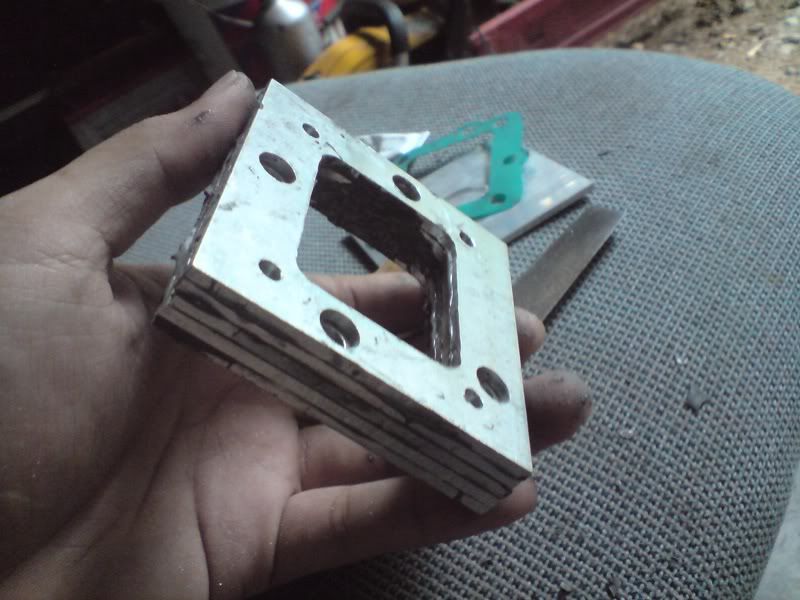
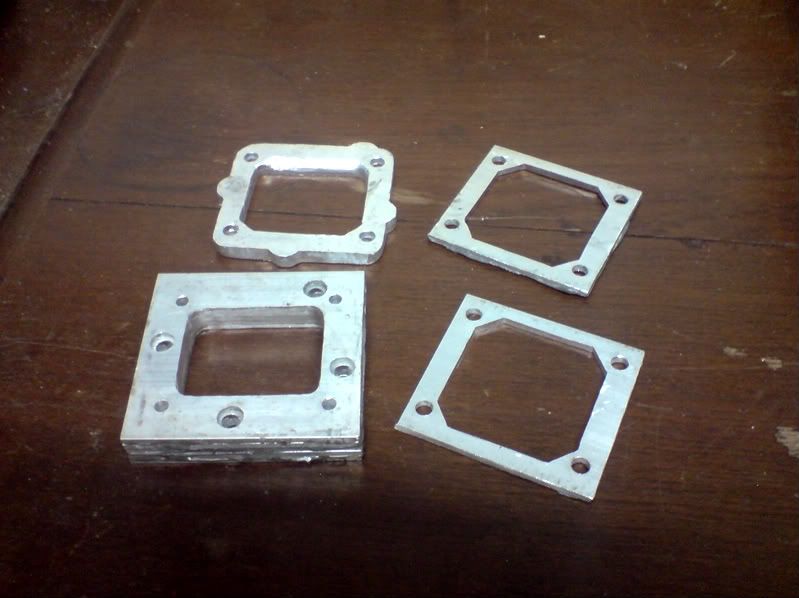
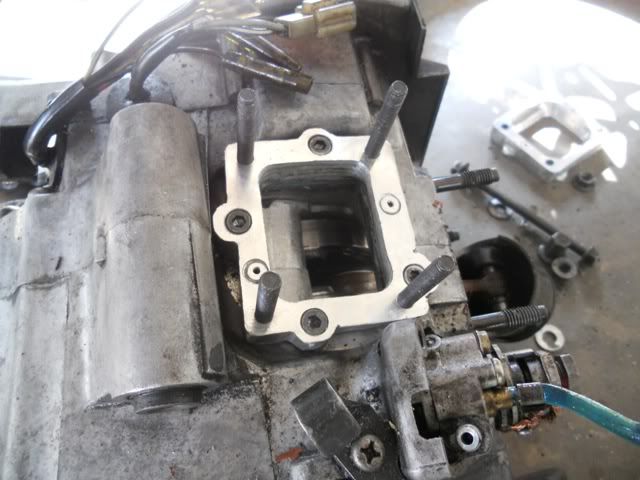
this is what u get once u've stick them together... btw this is only the lower piece...
its just the same procedure for the middle piece...


the two piece on the right should be sticked together with the top left piece... which will make the middle piece... :)...


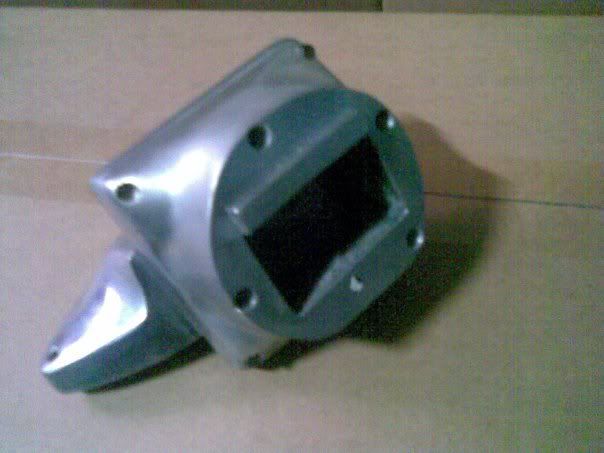
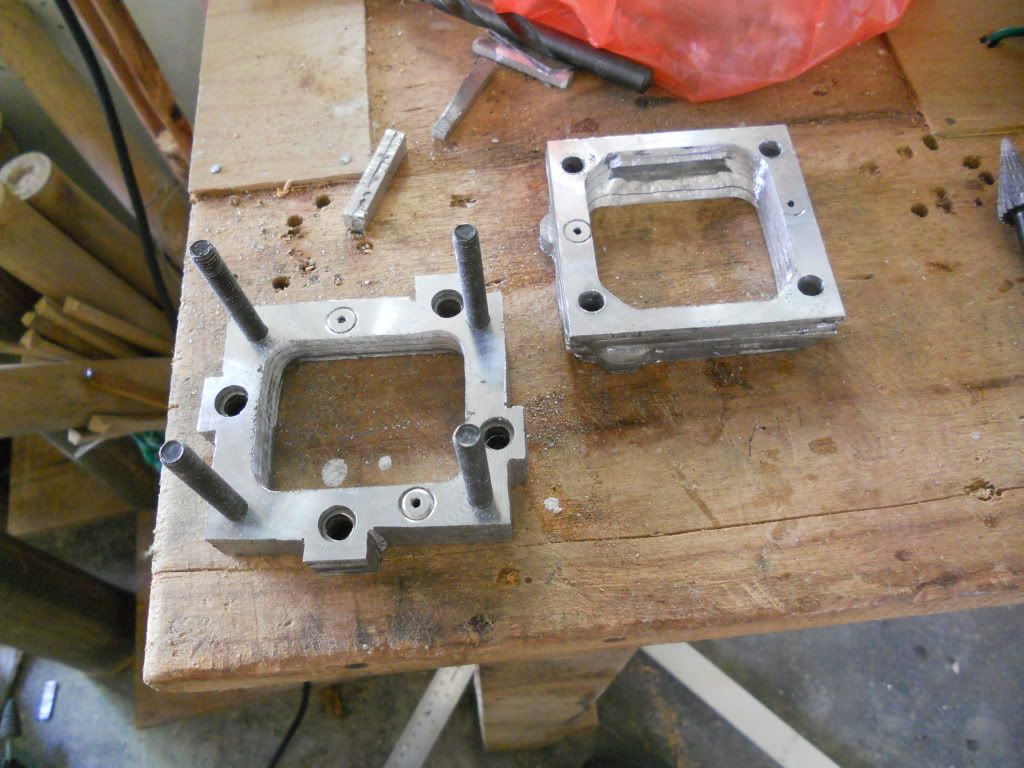
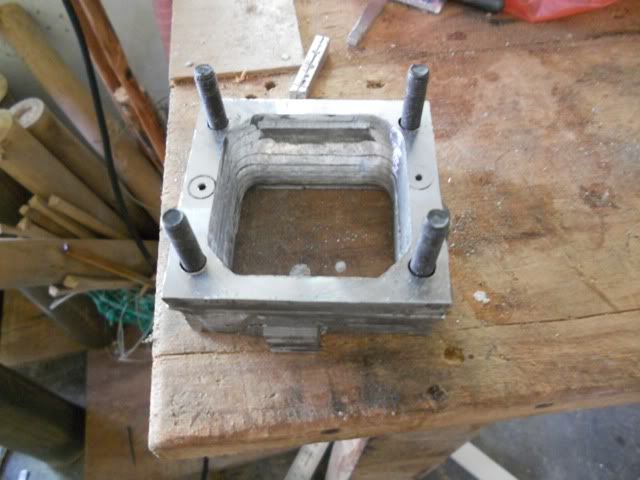
this is what u get once the is done and after sending it to the machinery shop to lathe (for super flat surface to avoid leakage) and make thread for the screws. ... it was around RM30 for that... next is to refine the outer sides...


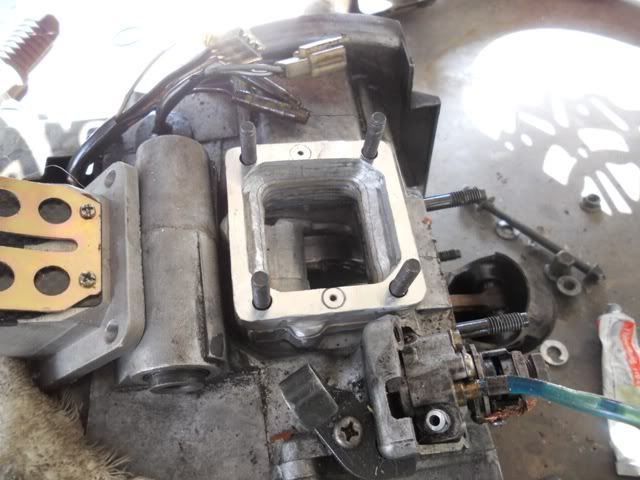
the bottom piece screwed onto the engine... and the middle pice placed on top of the bottom piece...


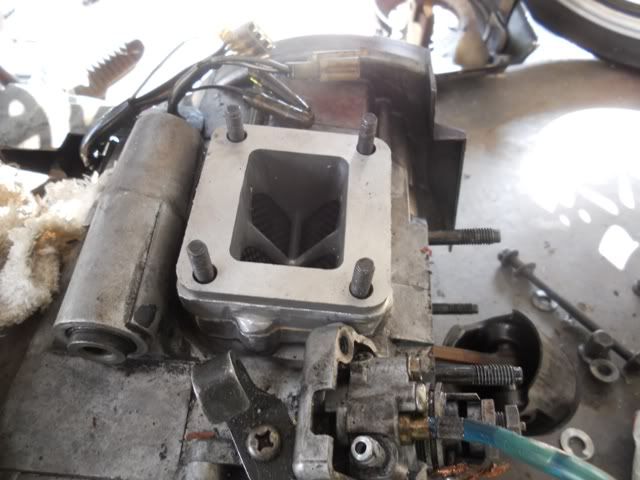
the reed valve installed in... :)


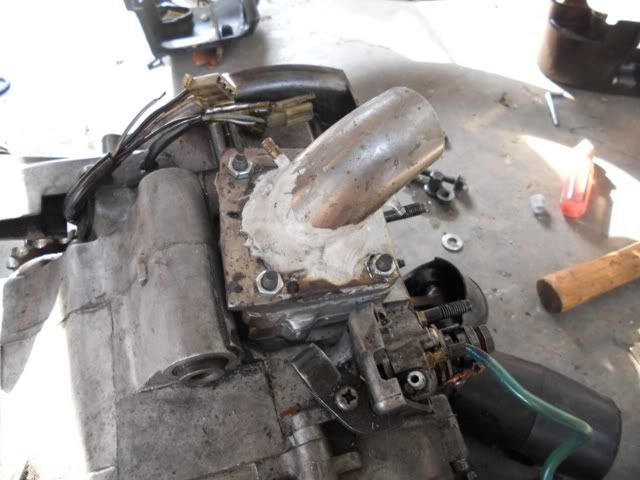
the intake manifold installed... its basically a curved pipe welded on a flat square metal sheet... :)


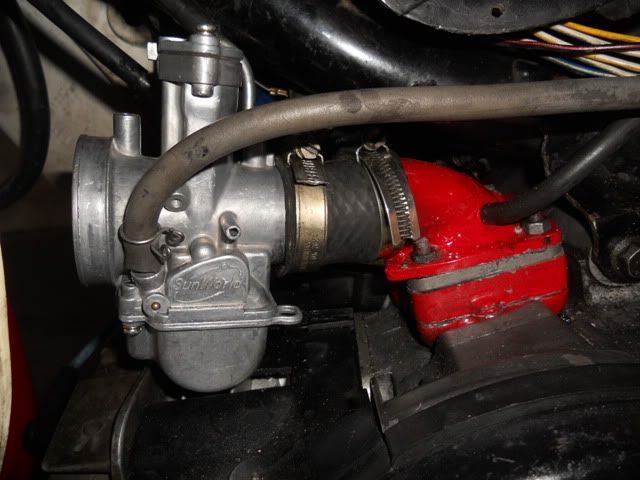
carburetor installed... btw its not the stock carburetor... this is 34mm KOSO Racing Carburetor,,, which increases the peformance quite a lot as well... the stock carburetor is just 20mm throttle opening... 14mm difference... planing to get a 38mm Keihin Racing Carburetor... but i need to wait for that since its kinda expensive... :P

Well... this is only one part of the modification needed to achieve top speed out of a small engine... i've been through 200km/h on my bike with additional of some other modification to the engine... which i might probably post it next time... and going that speed for only short distance drag race... 400 meters... maximum is for 1 km... i dont dare go further than that coz i dont want my engine to blow... :S... good luck for those who wants to make this item... :)...


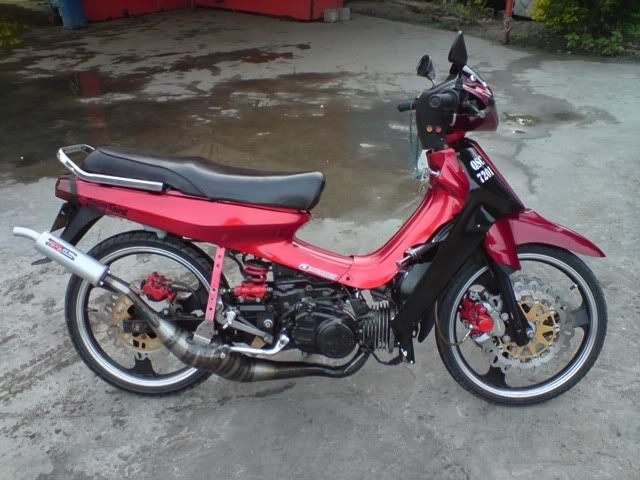
my drag machine... :P